Sunday, November 3, 2013
More Operation Squad
A few days ago Nick, Mike, Franz and I played another game of Operation Squad which is a WWII based skirmish game at the squad level. The terrain is a mix of mine and Nick's and the lovely figures used for this game were Nick's who has been working really hard on his 28mm WWII collection and we felt he should be rewarded by using all his figures(it didn't hurt that they looked superb either!).
Nick and I took the role of a German Luftwaffe squad supported by a Puma, Pak 40, mortar and a Tiger I vs Mike and Franz running a Soviet rifle squad led by a commissar supported by a sniper, mortar, T34/85 and an ISU2. We decided to go way overboard on the support points to try out the heavies, plus I really wanted to play the Tiger!:-)
Things started well for the Russians destroying the Puma with the ISU2 and wiping out a couple Volksgrenadier support sections with the rock hard sniper in both shooting and close combat! However, things changed when the Tiger got his groove on and blew up both the T34 and ISU2 in a gunslinger type showdown. I could almost hear Clint Eastwood or should I say Hans Ostwald saying "Go ahead make my day!".:-) Then the German mortar found his mark and wiped out a quarter of the Soviets and the commissar in one fell shot. On top of this the supporting members of the German mortar section gunned down the their opposite Russian mortar section through small arms fire and being caught in the blast from the exploding T34. At this point the Russians were 1 man away from having to take a route test and had no real answer to the Tiger so we ended the game there.
As usual Operation Squad provided an excellent movie like experience and was great fun, but it has it's problems with the sniper, mortar and grenades being way to effective and the lack of tanks have differing levels of front, sides and rear armour values plus the high powered main guns pretty much slice through everything. We will add a few a house rules and that should alleviate these issues.
My camara didn't take very many good pictures this time so I only have a few decent ones, but I implore you to check out Nick's blog that gives a fuller account of the game here.
Thanks for viewing!
Labels:
Game Report
,
WWII(28mm)
Monday, October 28, 2013
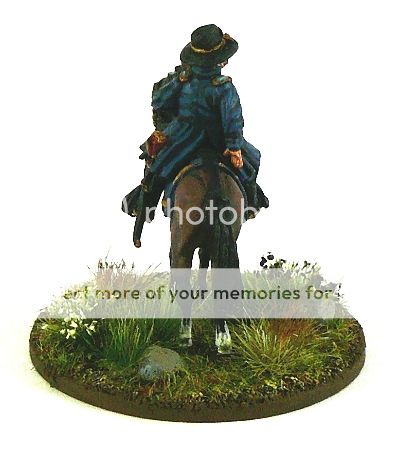
Major General Abner Doubleday
This well sculpted Perry figure will most likely represent a standard union commander in my games, but the model himself is Major General Abner Doubleday. He was an able commander, but through false reports and personal dislikes saw him fall out of favour. He is probably most famous for firing the first return shot with his battery at Fort Sumter.
He fought in the battle of Second Bull Run leading a Brigade, then a division at South Mountain and was wounded leading his men at Antietam and was present though inactive at Fredricksburg and Chancellorsville. He again entered the fray with command of the I Corp at Gettysburg after Major General Reynolds was killed. His corps showed excellent fighting spirit when of 9,500 of them held off 16,000 confederates for 5 hours before having to retreat with several brigades suffering 35 to 50% causalities. Unfortunately for Doubleday another corps commander falsely indicted his command broke first and since Meade the commanding general didn't like Doubleday believing him to be an indecisive commander(his nickname was 48hours) choose to believe this and had him replaced. When Doubleday requested reinstatement of command from Meade for 1 Corps and was refused he decided to pack his bags and head for Washington to undertake administrative duties.
After the war he got into the railway business, law and wrote some books on his experience in the War.
Thanks for viewing!
Miniature Company- Perry Miniatures
I also won something over at Dalauppror blog here! It's a great blog full of Swedish wargaming history. Michael cleverly likes to take rule sets for other periods and use those with a Swedish background. Very nice painting and great AAR's can be found there so I highly recommend checking it out.
I won what seems to be a history of tanks in WWI and for sure I will be checking it out. Thanks Michael!
Labels:
ACW
Thursday, October 17, 2013
Warlord aquires Arsenal Miniatures
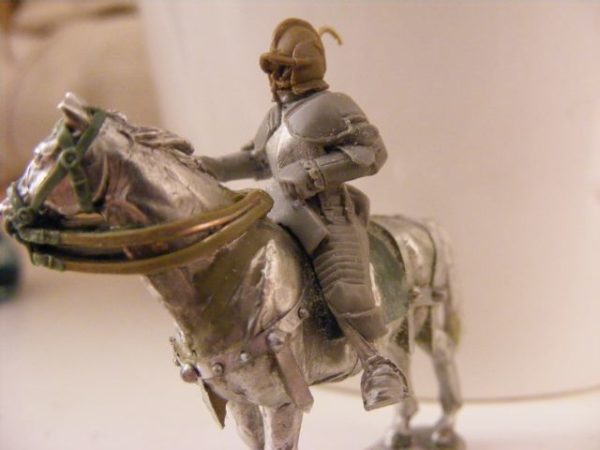
I just saw that Warlord acquired Arsenal Miniatures! Here I remember first seeing this range back in 2010 and thought it looked awesome! It looked to be coming along great and I was already set to spend some cash and then suddenly all work and communication stopped and I heard nothing for several years. I was sorely disappointed as my dreams of fighting the Spanish Hapsburgs and the Ottomans appeared to go up in smoke.
Here is the old Arsenal link:http://arsenalminiatures.blogspot.de/
It was with great pleasure to see that Warlord managed to get the range where others had tried and failed. I really hope they continue with Paul Hicks as the sculptor as the material already produced is at a fantastic standard. I'm very excited as this has a lot of potential and will present a beautiful spectacle on a battlefield.
Time to get ready to spend some cash again!:-)
Labels:
Notes
Monday, October 14, 2013
Brigadier General William Barksdale
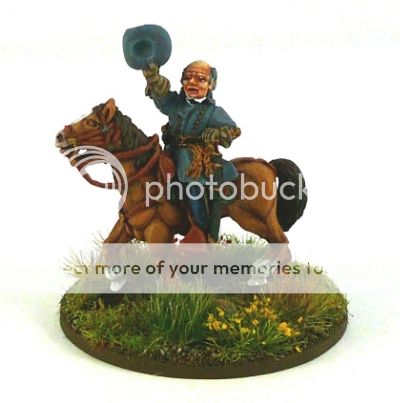
This is Redoubt figure of Brigadier General William Barksdale who will serve as himself when appropriate and as a fill in brigade commander at other times. I always liked Don Troiani's depiction of him in battle waving his hat forward for his Mississippians to charge so when I saw the figure on Redoubt page I new I had to include him in my collection.
A veteran of the Mexican War and a member of the House of Representatives and a true hot head who beat another member of Congress with his cane over states rights issues entered the Civil War first in the Militia before taking command of the 13th Mississippi. He led the regiment through the first Battle of Bull Run, Peninsula Campaign and the Seven Days Battle before taking command of the whole brigade after Brigadier General Richard Griffith was mortally wounded at Savage Station and leading it on a doomed, but heroic charge up the Malvern Hill. Barkesdale now a Brigadier general commanding "Barksdale's Mississippi Brigade" joined Major General Lafayette McLaws Division where his brigade under his leadership became a well known tough fighting brigade in the battles of Battle of Antietam, (Sharpsburg), Fredericksburg, Chancellorsville, and finally Gettysburg where his brigade smashed through the Union forces at the Peach Orchard before being stopped at Plum Run. Barkesdale was leading his men from horseback at the front which inspired his men(and the painting), but left him dangerously exposed and led to his death by bullet in his knee, a cannon ball to the foot and final bullet to the chest which brought him down for good.
Thanks for viewing!:-)
Miniature Company-Redoubt Miniatures
A veteran of the Mexican War and a member of the House of Representatives and a true hot head who beat another member of Congress with his cane over states rights issues entered the Civil War first in the Militia before taking command of the 13th Mississippi. He led the regiment through the first Battle of Bull Run, Peninsula Campaign and the Seven Days Battle before taking command of the whole brigade after Brigadier General Richard Griffith was mortally wounded at Savage Station and leading it on a doomed, but heroic charge up the Malvern Hill. Barkesdale now a Brigadier general commanding "Barksdale's Mississippi Brigade" joined Major General Lafayette McLaws Division where his brigade under his leadership became a well known tough fighting brigade in the battles of Battle of Antietam, (Sharpsburg), Fredericksburg, Chancellorsville, and finally Gettysburg where his brigade smashed through the Union forces at the Peach Orchard before being stopped at Plum Run. Barkesdale was leading his men from horseback at the front which inspired his men(and the painting), but left him dangerously exposed and led to his death by bullet in his knee, a cannon ball to the foot and final bullet to the chest which brought him down for good.
Thanks for viewing!:-)
Miniature Company-Redoubt Miniatures
Labels:
ACW
Tuesday, October 1, 2013
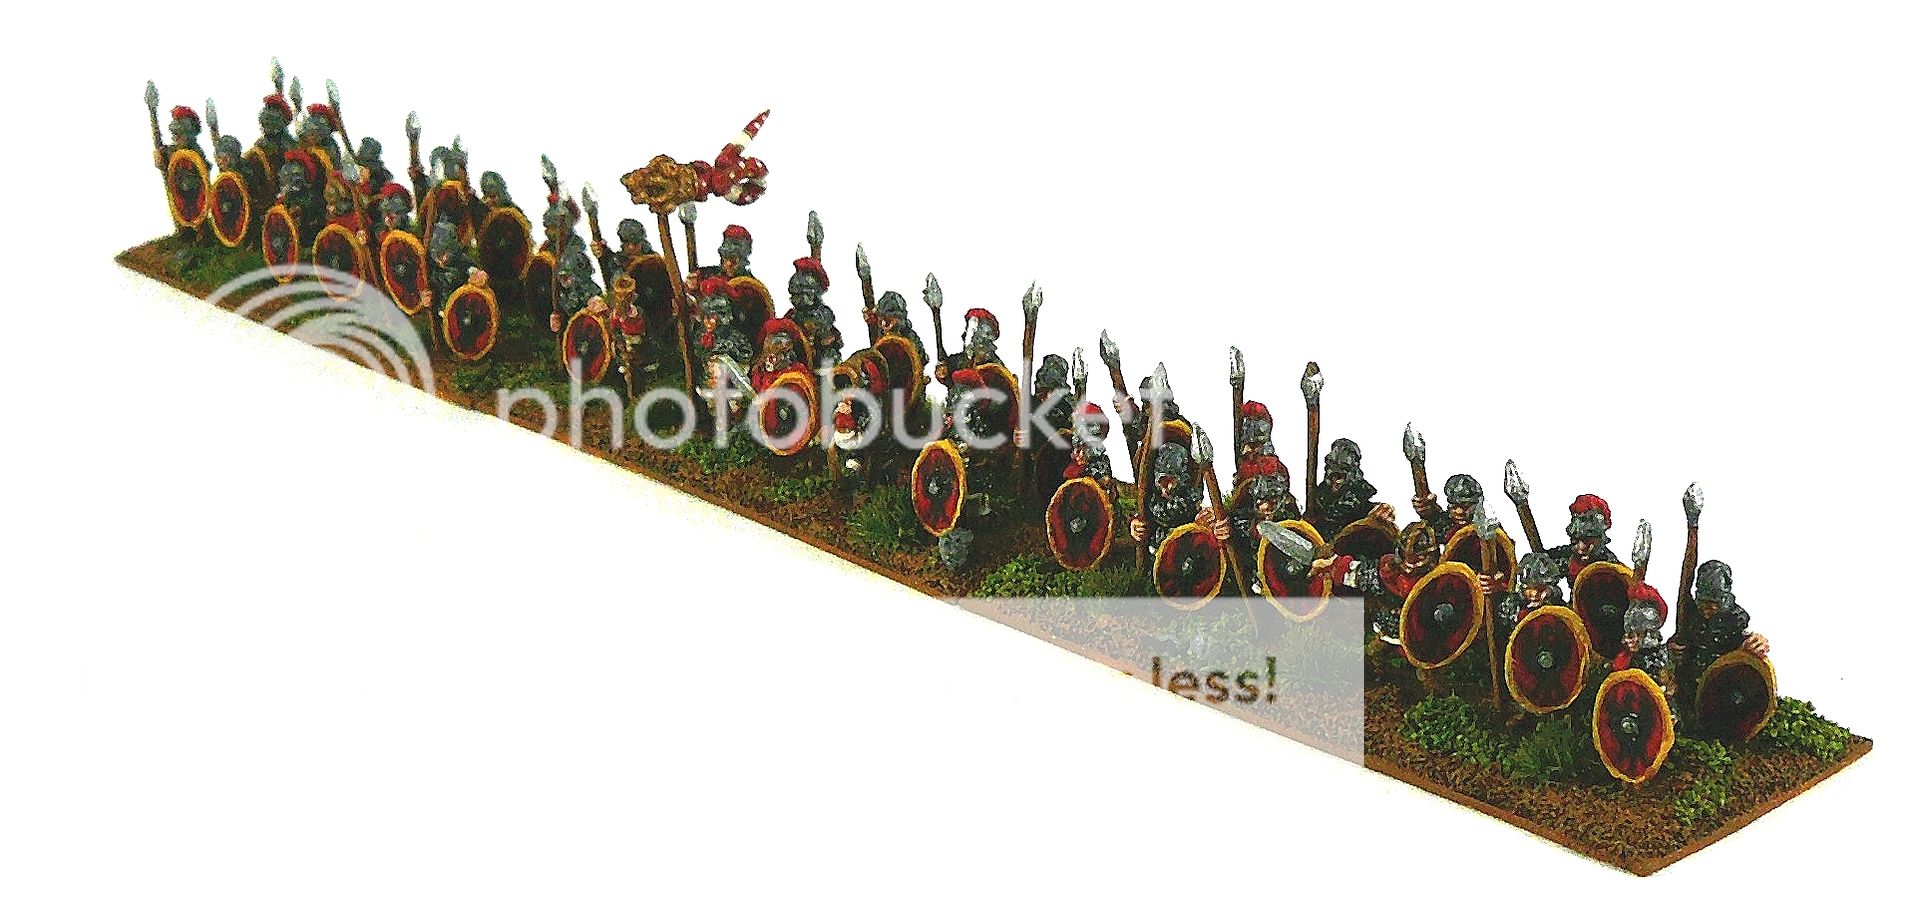
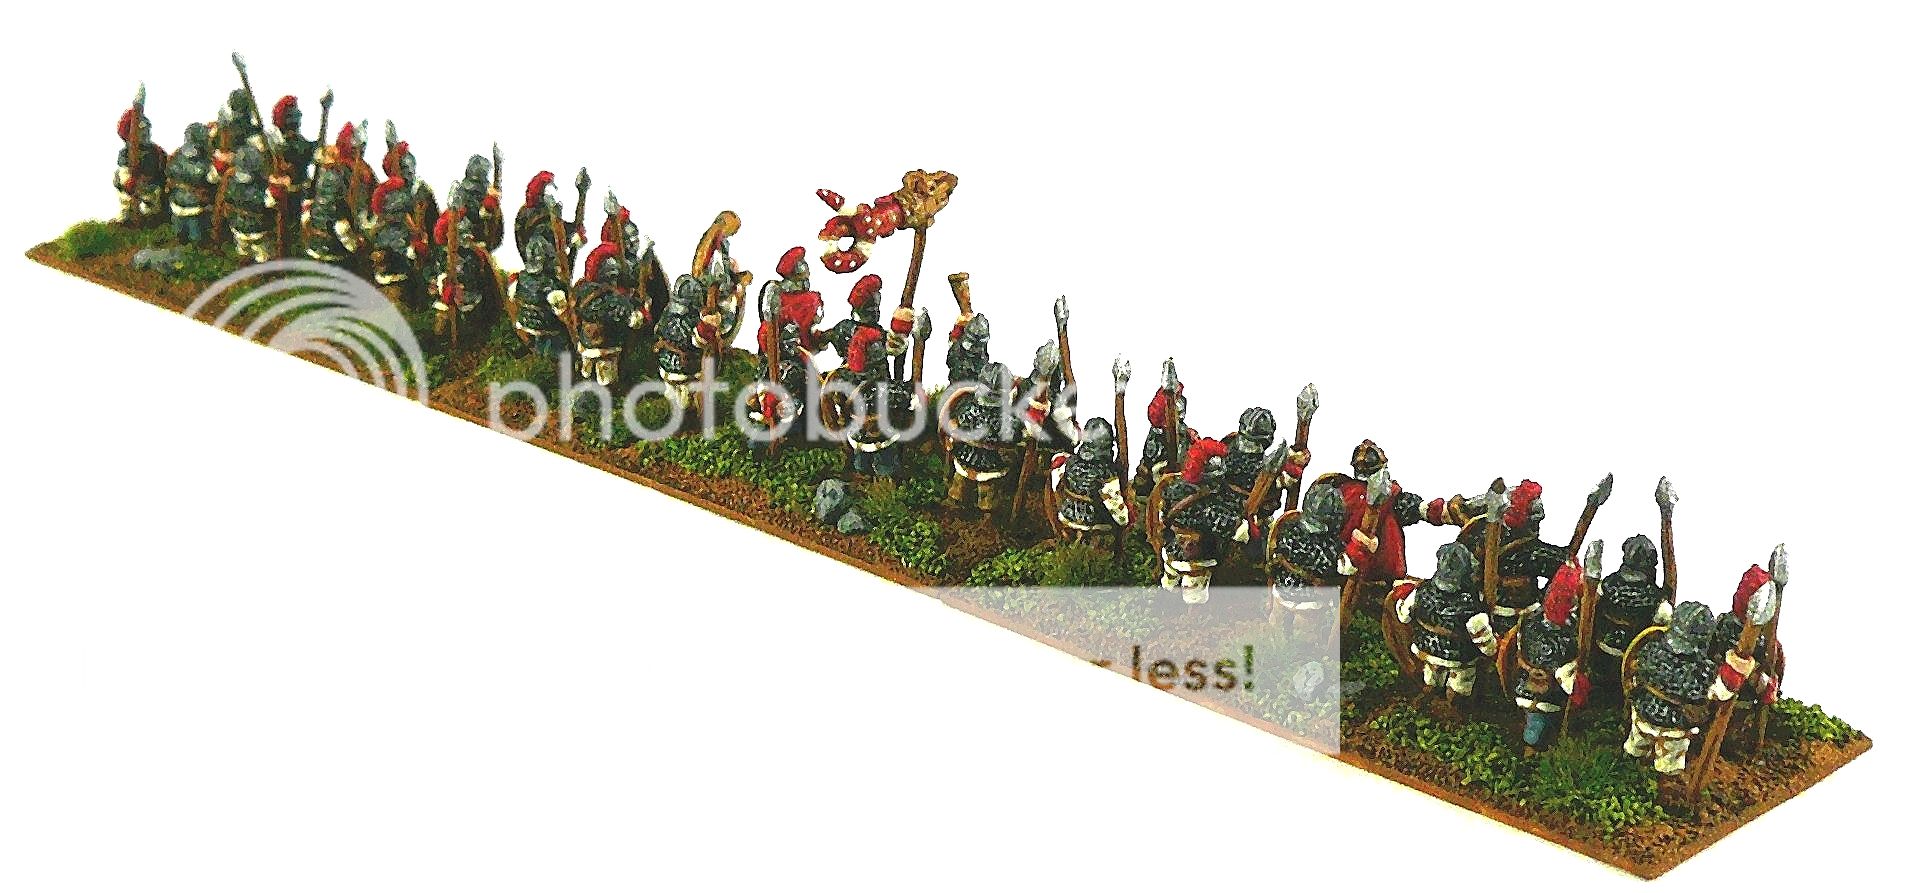
Late Roman armoured infantry (10mm)
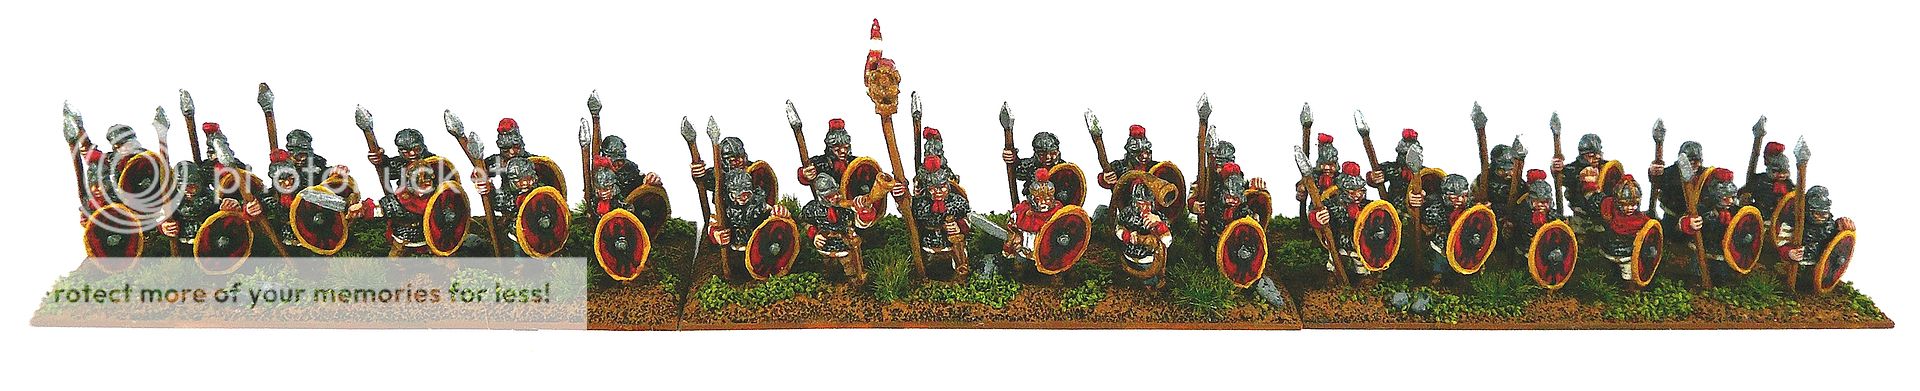
Foraging once again into 10mm to try it out in an effort to get some gaming in. While 28mm is my favourite scale and will remain my primary scale it takes me a very long time to finish each unit making gaming difficult for all the periods and armies I want to do. So, I've decided to concentrate for a little while on some of the smaller scales so I can have some armies to play when I return back to paint the long term 28mm projects that I have. While it still probably takes me too long at even this scale it for sure is much faster then 28mm.
While 10mm is quite small and one must sit down at the table when gaming to see the detail it does however have a certain charm to it that other scales just don't have. The larger scales are more serious and anything under 10mm is flat out too tiny IMHO.
Tim and I decided first to try the Late Roman period focused in Western Europe to start our 10mm venture. I picked Pendraken's very nice Late Romans and Tim went with Coppelstone's equally very nice fantasy Horse Tribe figures which look great for Goths. The Late Roman period has long held an interest for me so I was pretty happy to start here.
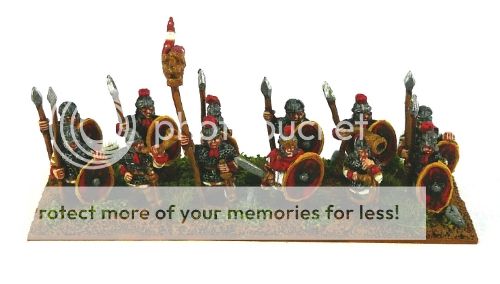
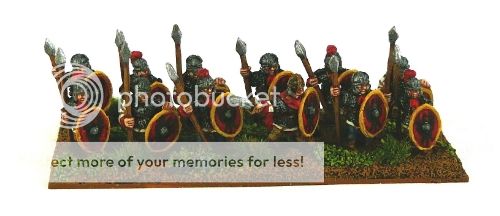
The figures are armoured infantry and are based for Impetus on 60mm x 25mm bases. I like a bit of room on my bases so I can handle the base and not the figures as much as possible, plus it comes in handy for the more energetic figures later on and I just think it looks better too. The figures are Pendraken and have surprising detail for the size. The shields are LBM transfers, but I ended up repainting them to give a stronger colour which comes to a good point on painting 10mm. This scale requires you to paint in high contrasts that would look way to strong in 28mm, but work very well for 10mm and is something I'm learning to do. At first I was kind of frustrated, but now that I'm finished I'm pleased with the results and still motivated to do more which is a good thing for future gaming. Oh, another real nice thing is the savings you make at this scale compared to 28mm or even 15mm which is quite significant!
Photography is another challenge for this scale and something I'm still trying to come to grips with so I took as many pics at as many different angles as I could in the hopes that you can see the figures well enough. I'm happy with the painting results, but the photography needs a lot of work still. I hope to try some proper terrain background when I get a chance and see how that looks as that usually works better.
Thanks for viewing!:-)
Miniature Company- Pendraken
While 10mm is quite small and one must sit down at the table when gaming to see the detail it does however have a certain charm to it that other scales just don't have. The larger scales are more serious and anything under 10mm is flat out too tiny IMHO.
Tim and I decided first to try the Late Roman period focused in Western Europe to start our 10mm venture. I picked Pendraken's very nice Late Romans and Tim went with Coppelstone's equally very nice fantasy Horse Tribe figures which look great for Goths. The Late Roman period has long held an interest for me so I was pretty happy to start here.
The figures are armoured infantry and are based for Impetus on 60mm x 25mm bases. I like a bit of room on my bases so I can handle the base and not the figures as much as possible, plus it comes in handy for the more energetic figures later on and I just think it looks better too. The figures are Pendraken and have surprising detail for the size. The shields are LBM transfers, but I ended up repainting them to give a stronger colour which comes to a good point on painting 10mm. This scale requires you to paint in high contrasts that would look way to strong in 28mm, but work very well for 10mm and is something I'm learning to do. At first I was kind of frustrated, but now that I'm finished I'm pleased with the results and still motivated to do more which is a good thing for future gaming. Oh, another real nice thing is the savings you make at this scale compared to 28mm or even 15mm which is quite significant!
Photography is another challenge for this scale and something I'm still trying to come to grips with so I took as many pics at as many different angles as I could in the hopes that you can see the figures well enough. I'm happy with the painting results, but the photography needs a lot of work still. I hope to try some proper terrain background when I get a chance and see how that looks as that usually works better.
Thanks for viewing!:-)
Miniature Company- Pendraken
Labels:
Arthurian/Late Roman /Germanic
Monday, September 23, 2013
Some more Regimental Fire and Fury
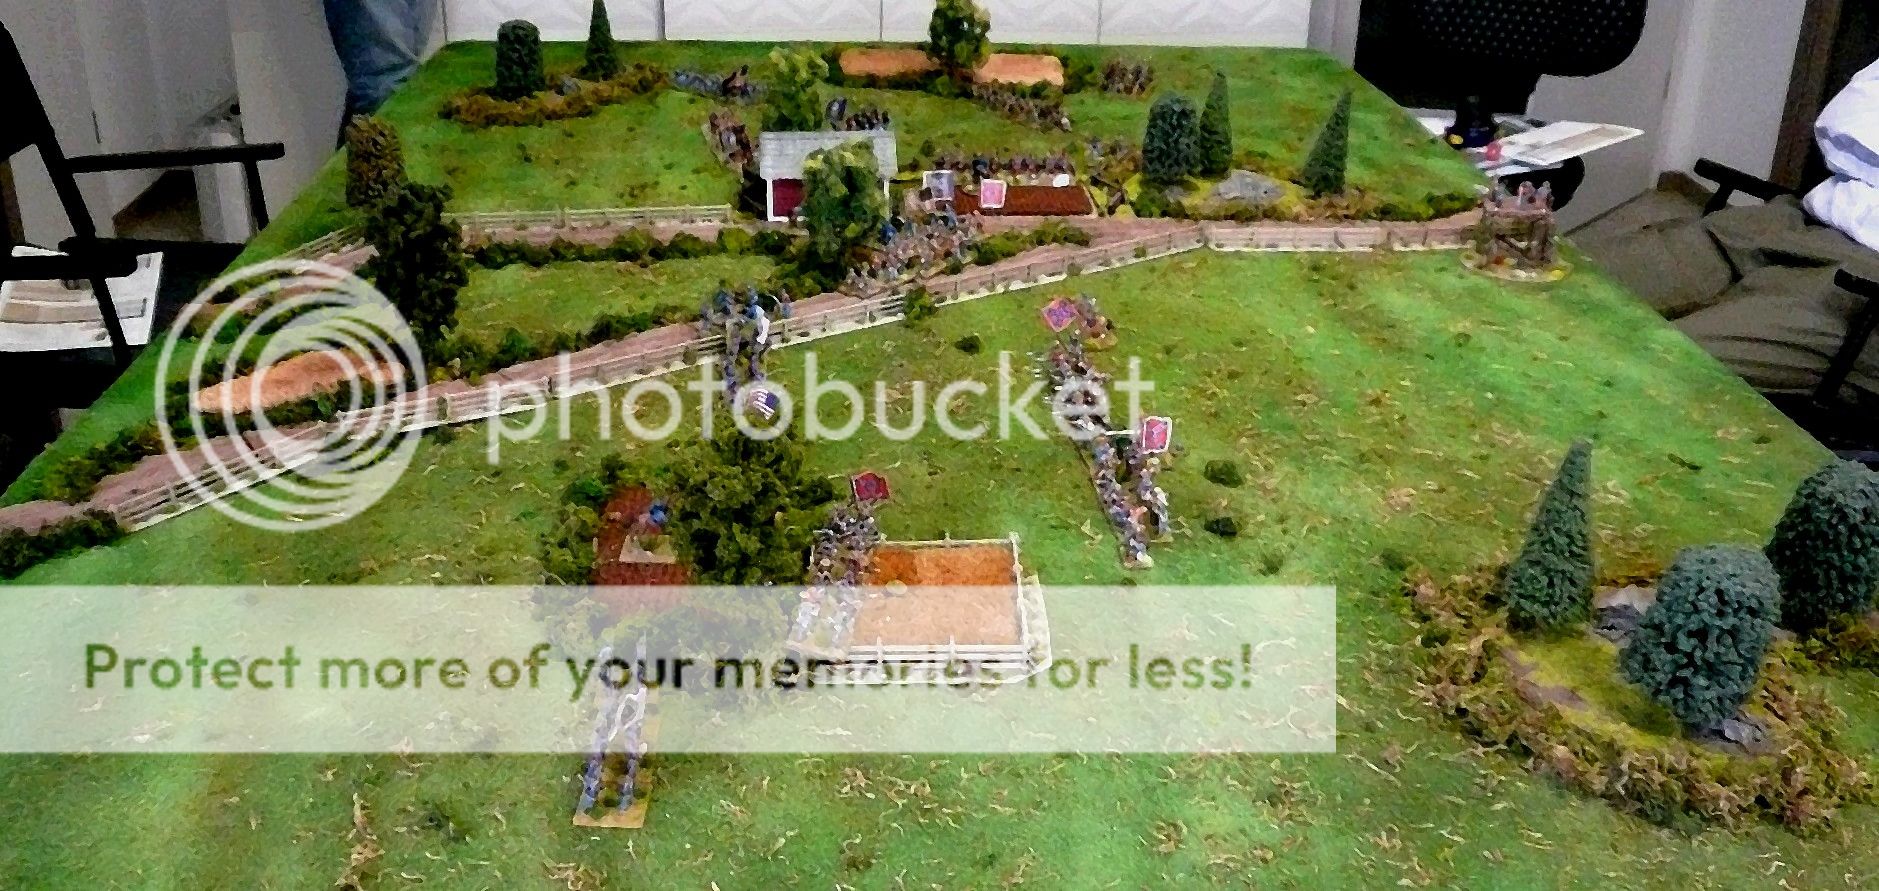
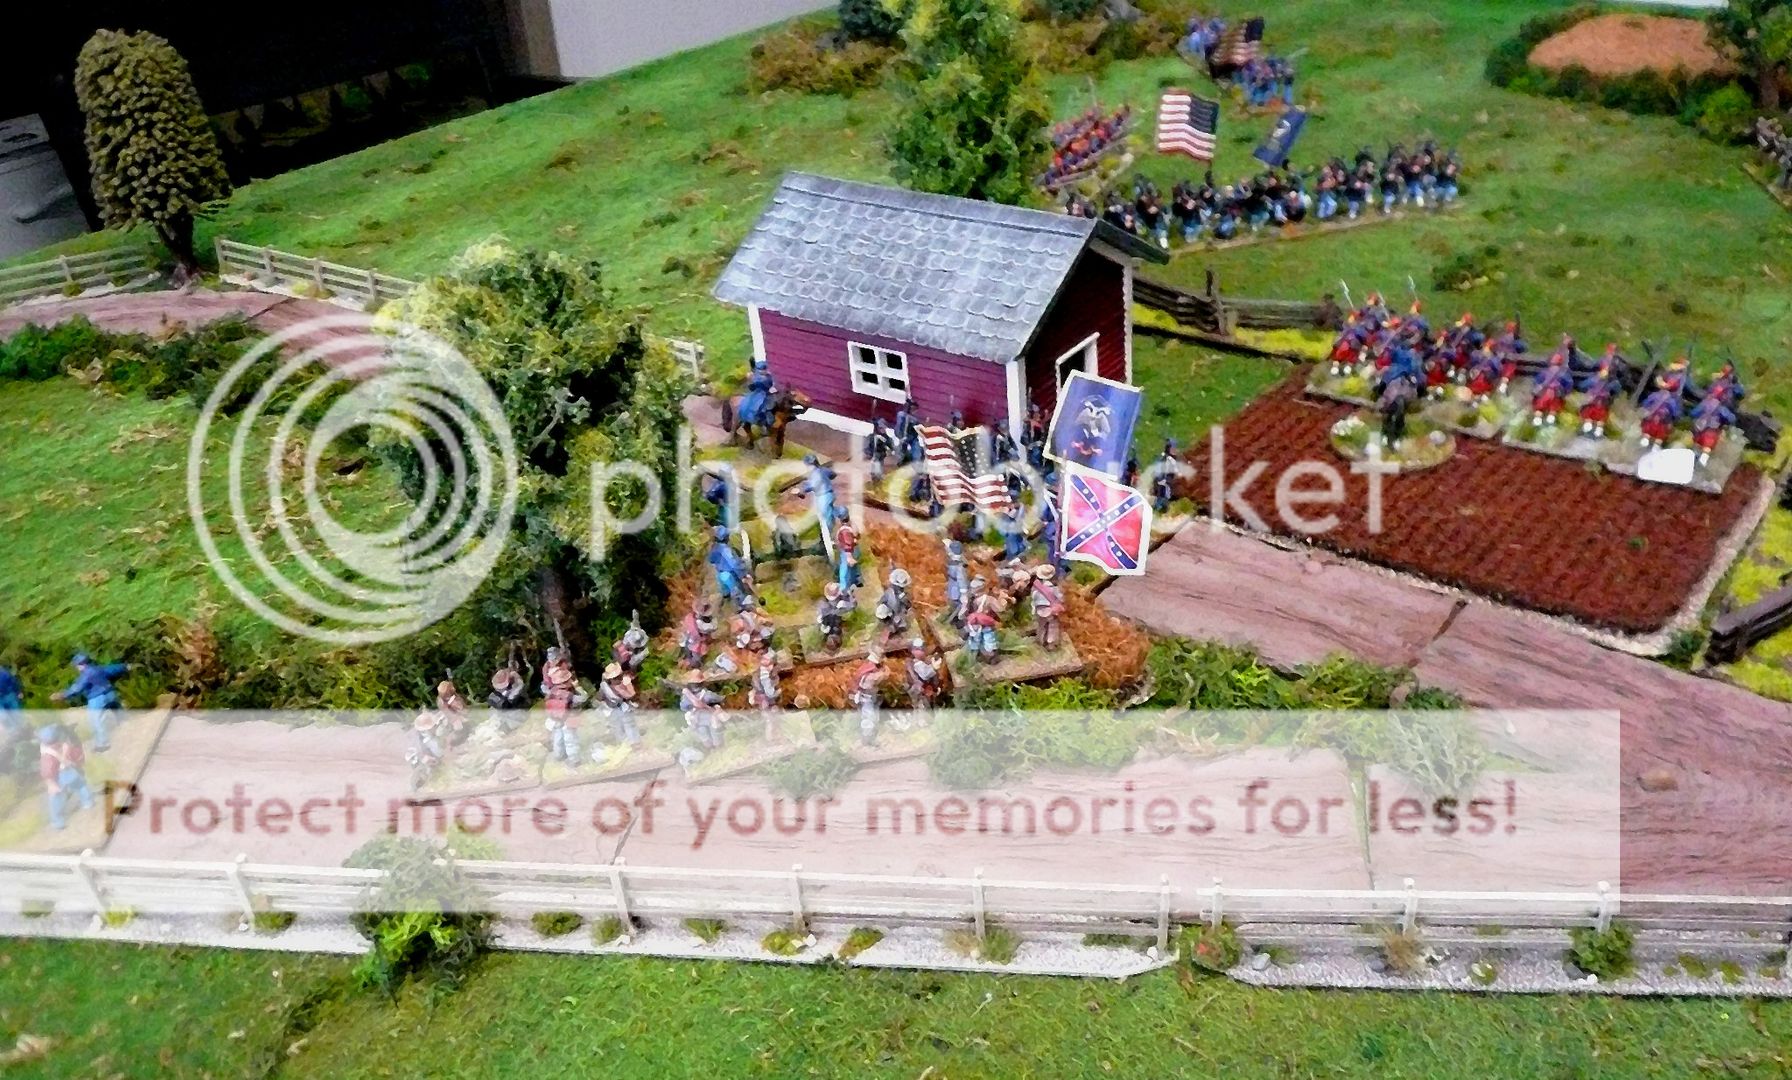
We have been playing some more Regimental Fire and Fury in 28mm and having a great time. Our group is happy with using 2 figures per base and using the 15mm range and movement charts. I really prefer this version over the Brigade version although I really like that too!
If I remember correctly we had about 9 Union regiments plus a couple guns vs 8 Confederate regiments and a couple guns. Due to time constraints we decided whoever controlled the crossroads or broke the other side when we called the game would be the winner. As it turned out the Confederates controlled the crossroads, but the Union had inflicted more casualties and so looked to be stronger. I think we decided it was a minor victory for the confederates due to nightfall.
The future looks very good for 28mm ACW for our group as we now have a good starting point in terms of figures to game with. Now it's simply a matter of adding regiments to increase scenario sizes. I'm very pleased because I think getting things up to a playable level is the hardest part of doing a period and once you have achieved this it's all gravy from there.
Sorry about the quality and lack of pictures, but I didn't steady my hand and forgot to take more as I was pretty wrapped up in the game.
Labels:
ACW
,
Game Report
Thursday, September 5, 2013
Carnage on the fields Parvumoppidum
| The two armies approach with the champions meeting in the center. |
| The champions Wolfhad and Gildas meet. |
Hamarolf turned to Wolfhad and in his customary low whisper and a slight nod of his head said "It's killing time Wolfhad".
Wolfhad nodded in return and placed his Odin faced helm over his head, drew his sword and began walking toward the waiting British. Hamarolf was confident Wolfhad would come out on top as he had never before seen a more promising warrior, but things could always happen when engaging in such risky things as single combat. One could never anticipate the mood of the Gods.
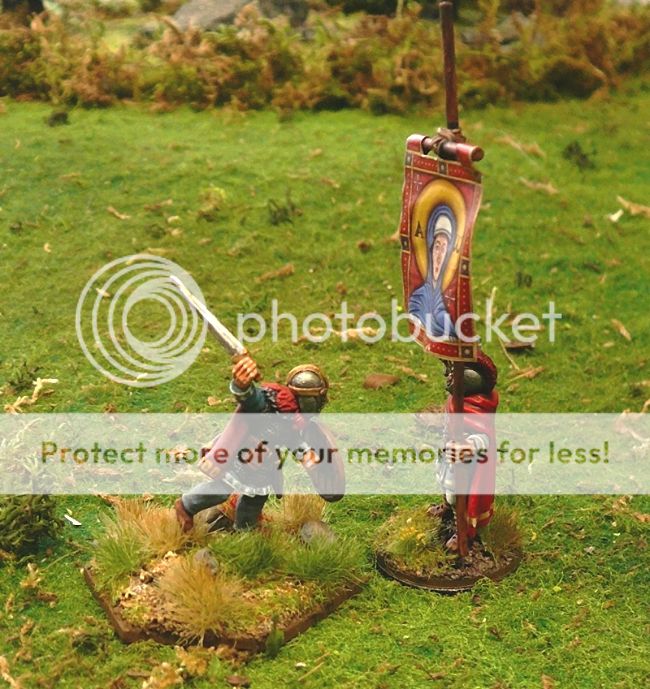
When Wolfhad reached the halfway point between the two armies he raised his sword in the air and pointed towards the British lines issuing his challenge of personal combat. Soon from the middle of the enemies lines emerged a warrior clad in red and white with a shield, sword and a banner of some woman. As to why a man would carry a banner of woman was odd and quite unmanly thought Hamarolf.
When the British champion reached Wolfhad he planted his banner in the ground and made some kind of a cross sign on his chest to the woman symbol. The two champions then began to circle each other attempting to get the measure of the other. The British champion struck first with quite some speed that looked as if it might just catch Wolfhad's throat, but in a quickness not apparent in such a large man Wolfhad deflected the blow with his sword and returned a backhanded blow of his own that stunned the Roman and sent him reeling. His nose bleeding the man attempted to delay Wolfhad in order to recover his senses by charging him, but Wolfhad was expecting this and so side stepped and brought his shield around back into the rear of the Romans head with a resounding crack sending him flying into the ground face first. Staggering back to his feet the British champion who was clearly dazed, turned around to and made a lunging feeble sword stab at Wolfhad who casually swatted the sword out of the beaten man's hand and kicked him in the chest sending him to the ground in a spread eagle fashion. Wolfhad sheathed his sword then grabbed the Romans woman banner and turned it upside down driving the pointed tip into the British champions throat twisting the shaft until the fallen man's feet stopped kicking up the wet soil. Finished Wolfhad turned to the enemy lines and raised his arms in triumph.
For a moment there was absolute silence then a crescendo of cheers went up from the Saxon lines with wild yells and chants of Wolfhad repeated over and over matched by swords thumping on shields. Seeing the blood drain from the Roman general's face and the looks of dismay on his army at the death of their champion and the sacrilege done to their patron's banner only served to increase the tempo of the Saxon celebrations.
Hamarolf smiled to himself and thought today is going to be a good day to be a Saxon.
There is a pre-game sequence where players can issue challenges, look at portents, give speeches among other things to hopefully give their side an edge. I choose to conduct a champions challenge which is the Saxon thing to do and by reading the little story above you can see how lopsided the fight went as I rolled great with Wolfhad crushing Gildas which increased my army morale. I then paid for a miracle and got a flank march with one of my nobles(Isenhart) and a unit of warriors. Unfortunately for Nick his speech fell flat and the beer he gave his men before battle apparently was of the alcohol free variety and had no effect.
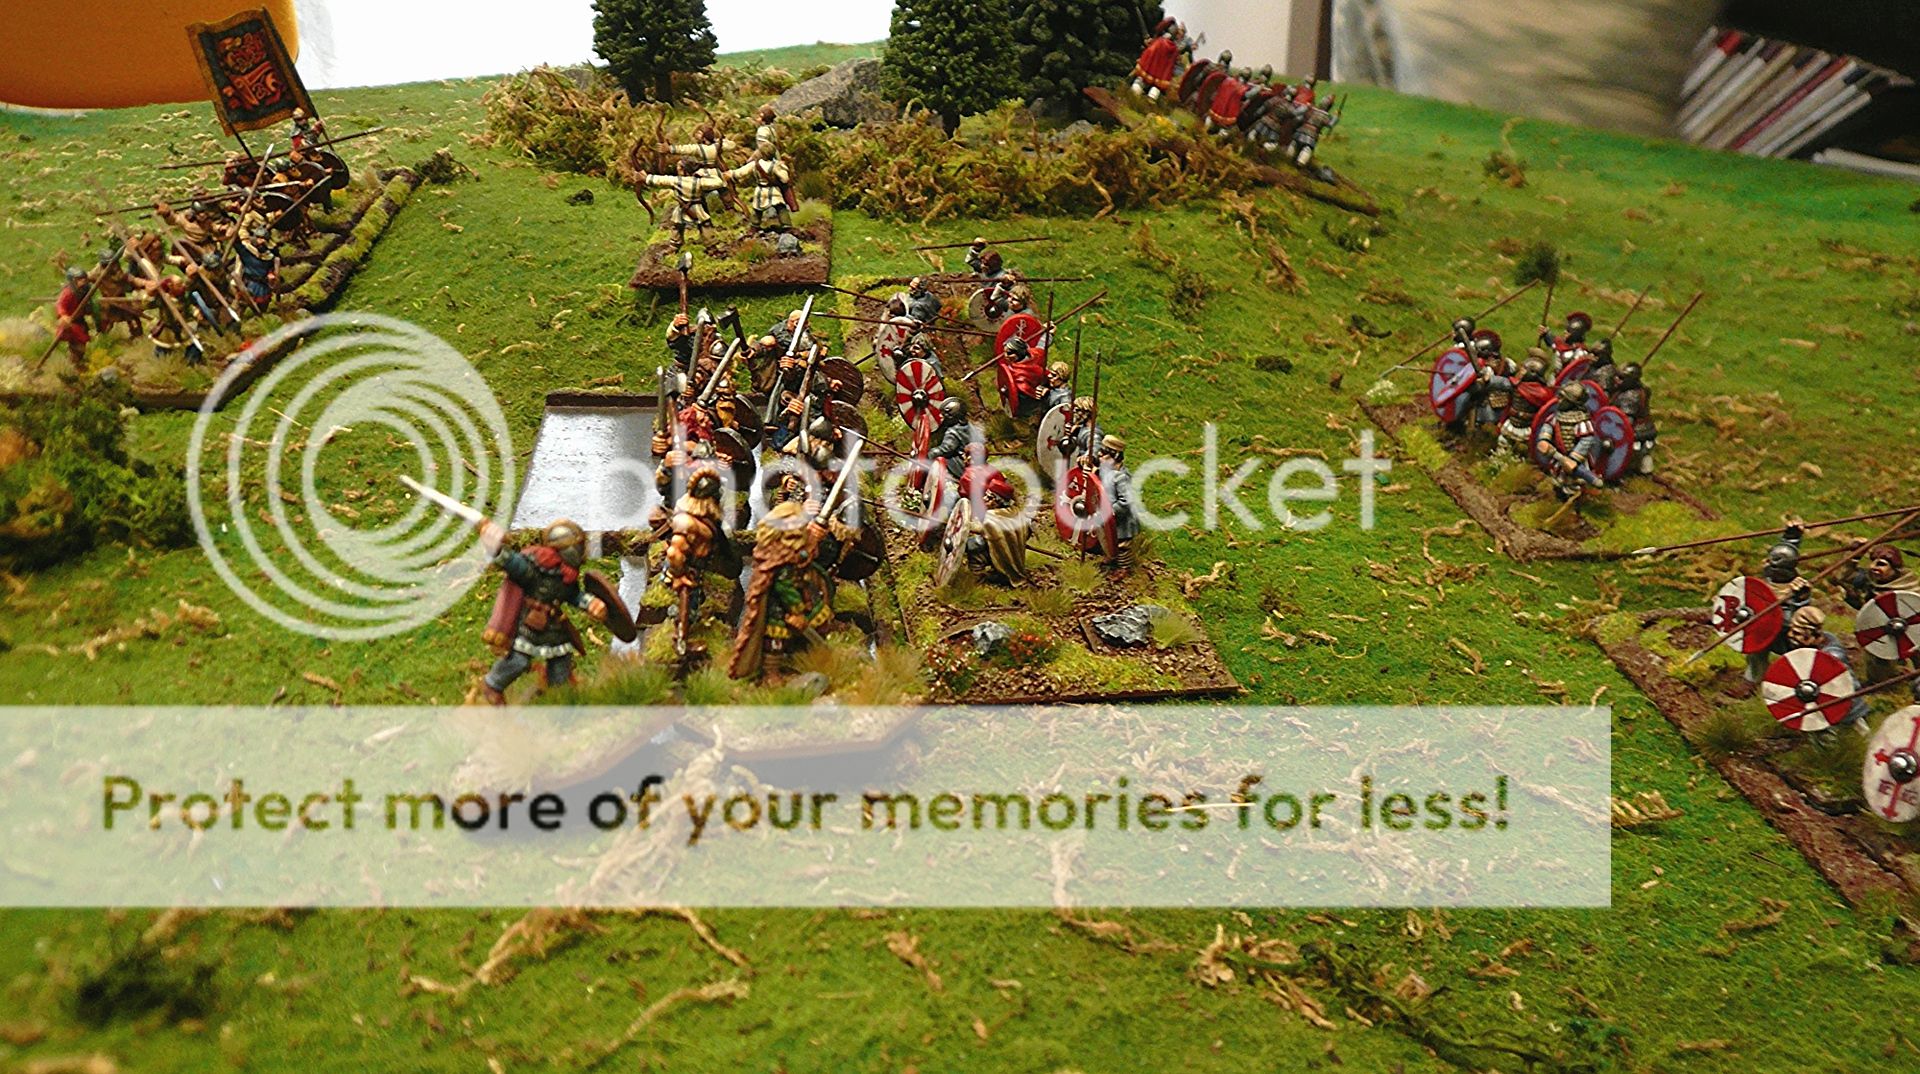
We moved onto the battle with both the Saxons and Romano British advancing on each other eager to come to blows. Nick advanced his levy perhaps too quickly as they could not form a shieldwall in time and were hit by Hamarolf, Wolfhad and my elite Gedridht with a predictable result of Nicks levy being shattered and routed. Fortunately for Nick he was able to form a shieldwall with his lord Magnus, the noble Eckfrith , his elite Comanipulares and a group of warriors who countered attacked the pursuing Saxons. Let me tell you folks a shieldwall is a tough nut to crack and they stopped my Saxons cold. A few rounds of fierce combat followed, but the Saxons began loosing ground with one unit of Gedridht shamefully breaking and running.
Things were looking grim for Hamarolf until the lagging Nothelm and his warriors jumped into the fray and stopped the British counter attack allowing Hamarolf to re-group his remaining Gedridht and launch a counter attack of his own. With all the shock acquired during the fighting and the death of Eckfrith spelled doom for his lord and Comanipulares/Warriors who broke and ran hotly pursued by the battle frenzied Saxons who in the process hit and routed the last remaining fresh levy!
The flank attack didn't amount to much as it was a total Pyrrhic contest, but was highly entertaining! Isenhart and a group of Duguth warriors battled Dungbreath and a group of Roman warriors blocking my flank attack. In a bloody clash they cut each other down to a Noble and 1 warrior apiece before Isenhart's unit broke. That wasn't the end though as once Isenhart was able to disentangle himself from his fleeing unit he then in a heroic like fashion launched himself at the remaining Dungbreath knocking him unconscious and slaying the warrior!
Nick did manage to regroup his lord and Comanipulares/Warriors, but before they could turn Nothelm and his warriors hit them in the rear and this broke their will for good routing the last of the Romano British. Nick could see the writing on the wall with all his army and his leadership bar his general(who was also wounded) either dead, unconscious or fleeing and decided to withdraw his few remaining men and not to rally any others or risk total annihilation thus ending the battle.
Nick did come close to winning by standing a good chance in taking out Hamarolf which is an auto loss for the Saxons, but thankfully Nothelm and his lads arrived in the nick of time which turned a close game into a total disaster for Nick causing him to lose a fortified town and a 1/3 of his territories, a noble and champion.
Hamarolf has now risen to the status of King Hamarolf for his great victory and much gift giving gold, women and weapons to his loyal followers. In addition he has attracted himself a Wicca priest after building a shrine on Parvumoppidum battlefield and built himself a great hall to feast in and gather his people to tell tall tales and to rule from. However, Hamarolf is now utterly broke from all the lavish spending and so is in need of plunder therefore he once again turns his hungry eyes onto the British lands to re-fill his coffers.
A wonderful game with Dux Britanniarum again. It already started great and just seems to get better and better! I'm really looking forward to our next game!
I also updated the Dux Britanniarum campaign history page if you want to check it out.
Today is my 45th birthday so I'm off to Coburg castle to see the sights for the day with my family!
Thanks for viewing!:-)
| The Saxons led by Hamarolf. |
| The Romano British led by Magnus. |
| Isenhart on the flank attack. |
| The forces clash in a groan of metal! |
| Hamarolf and his Gedridht crush the Roman levy. |
| Only to run into Magnus elite shieldwall and stopped. |
| Nothelm to the rescue sending Magnus packing with his elite troops! |
| Isenhart takes out Dungbreath. |
| Hamarolf and Wolfgar finish off the rest of the levy. |
| Nothelm hits the reformed Comanipulares/Warriors in the rear which breaks them for good. |
Labels:
Arthurian/Late Roman /Germanic
,
Game Report
Subscribe to:
Posts
(
Atom
)